Chit-Pit
Real-time chat app.
Summary
A real-time chat application with one-on-one and group messaging, customizable user profiles, and a clean, intuitive UI built for smooth communication. The project focuses on responsiveness, real-time interactions, and creating an experience that actually feels pleasant to use instead of looking like a database assignment disguised as a website.
Beginning
The journey started exactly like it does for most software engineering students. I wanted to build something real. Not another static website with a navbar, a hero section, and three cards pretending to be a “project.” I wanted to make something that felt like an actual product people could use.
At the time, I was in my second year of college. My experience was mostly limited to HTML, CSS, and JavaScript. I had never built a complete application before, especially not a full stack one. This project became my first proper dive into full stack development, and honestly, most of the learning happened through confusion, trial and error, and repeatedly breaking things.
The biggest problem was obvious. How do you even become a full stack developer? You cannot just wake up one morning with database knowledge magically downloaded into your brain like Neo from The Matrix.
That was when I discovered Code with Antonio.
The guy is genuinely insane in the best way possible. He builds complete full stack applications and clones using modern tech stacks in videos that are somehow both 10 hours long and still too fast to follow sometimes. A few days ago he even uploaded a video about building an AI coding agent similar to Claude Code. Definitely worth checking out if you enjoy web development content.
So I followed one of his tutorials. That was basically the start of everything.
There were a lot of moments where I had absolutely no idea what was going on. Authentication? APIs? WebSockets? Database schemas? Half the time I was just staring at the screen hoping the code would emotionally explain itself to me.
Sometimes the problem would turn out to be a missing bracket or a typo that took two hours to find. Those moments build character. Mostly anger, but also character.
This was also during the period when AI code autocomplete tools were still pretty new and not nearly as polished as they are today. Not that I used them much anyway. Most of the project was built through sheer persistence, confusion, Stack Overflow searches, and the occasional “why is this not working” stare directly into the monitor.
But slowly, things started making sense.
Concepts that looked impossible at first became familiar. Backend routes stopped looking terrifying. Database queries became readable. I started understanding not just what the code was doing, but why it was written that way.
And after a few intense weeks of learning, debugging, fixing mistakes, creating new mistakes, and fixing those too, I finally had something I had never built before.
Now let’s dive deeper into the project itself and the technologies used to build it.
Deep Dive
Without getting into the actual code itself, which honestly I do not want to do, I can divide this project into four main parts.
The first is authentication. The second is the database. The third is deployment, which is what allowed me to actually share the application with other people instead of keeping it limited to localhost. And the fourth is the real-time communication system using Pusher, which is what makes the app feel like an actual chat application.
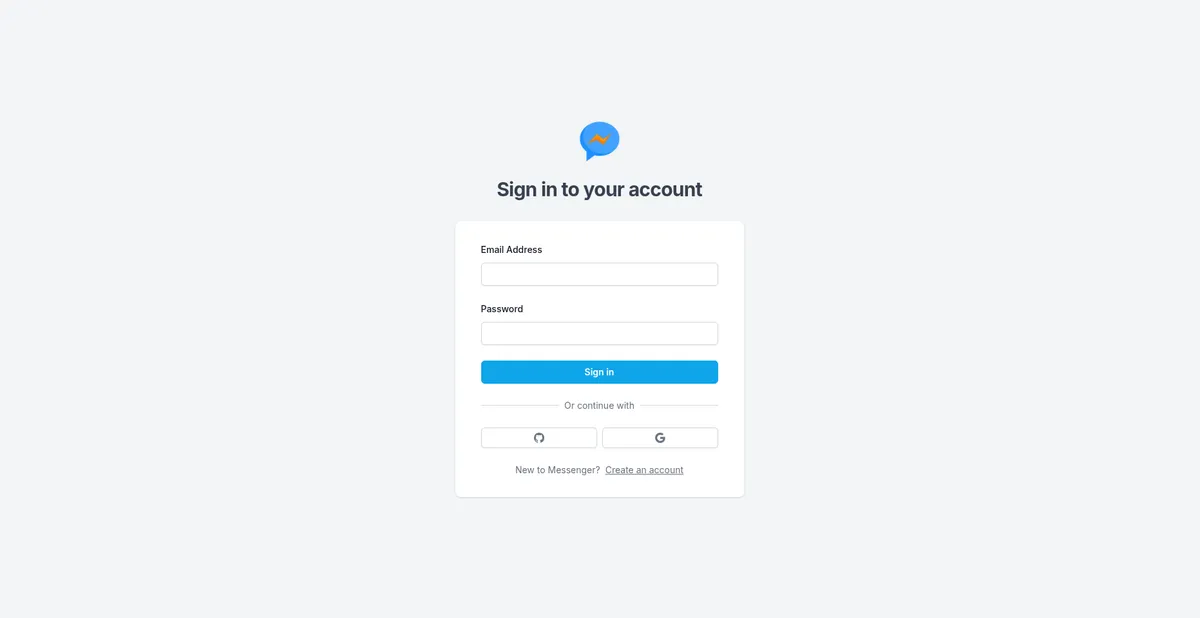
Authentication
 This was the first major building block and probably the simplest one as well, thanks to NextAuth.js.
Honestly, it simplifies authentication to a ridiculous extent.
It handles OAuth, JWT sessions, and the standard email-password setup through something called CredentialsProvider. For a first full stack project, this removed a massive amount of complexity and allowed me to focus more on understanding the overall flow of the application instead of spending all my time building an authentication system from scratch.
The next step was creating a database in MongoDB Atlas where I could store user accounts and compare credentials during login.
And honestly, that was mostly it.
I know there are developers who believe authentication should always be custom implemented and should not rely heavily on third-party services or libraries. For large-scale production systems, that argument definitely makes sense.
But for smaller personal projects like this, especially ones mainly shared with friends and family, I think tools like this are great. Being able to set up a reliable authentication system in a relatively small amount of code made the entire learning process far less intimidating.
It also helped me understand authentication flow practically before trying to understand every low-level detail behind it.
Now let’s move on to the second part: the database.
Database
As I already mentioned earlier, I used MongoDB Atlas for the database. MongoDB provides a pretty generous free tier through its shared clusters, which made it perfect for a student project like this. There were mainly two types of data I had to deal with here.
The first was general application data like user credentials, chat messages, conversation IDs, group information, and other structured data required for the app to function properly.
The second type was media and document storage such as avatars, images, videos, and other uploaded files.
Now technically, it is possible to store these files directly inside the database itself. In fact, I made that exact mistake once while working with Strapi. It works initially, but it is generally not recommended for applications that are expected to handle media properly.
Large file storage can impact performance, increase database load, and unnecessarily consume resources on the server where the application is deployed. Instead of the database focusing on handling queries and application logic efficiently, it also starts dealing with media delivery and storage overhead.
To solve this, I used Cloudinary for media storage and delivery.
 Cloudinary handled image and file uploads separately while the database only stored the references and URLs for those files. This kept the application architecture much cleaner and more scalable.
One thing I particularly liked was Cloudinary’s upload widget. It allowed users to upload files not just from their local device, but also directly from sources like Google Drive, Dropbox, camera input, and other external providers. Small feature, but it genuinely made the application feel much more polished and usable.
Another thing I appreciated was how straightforward the integration process was. Most of the setup mainly involved configuring API keys, creating an upload preset, and connecting the widget to the frontend. After that, uploads were handled almost entirely by Cloudinary itself.
It also automatically handles a lot of things that would otherwise become additional backend work. Image optimization, CDN delivery, resizing, compression, format conversion, and media hosting are already built into the platform.
Real-time communication using Pusher
Now comes the part that actually makes a chat application feel like a chat application: real-time communication.
Without real-time functionality, a chat app would feel incredibly awkward to use. Imagine sending a message and the other user only seeing it after manually refreshing the page every few seconds. Technically it works, but practically it feels broken.
Real-time systems solve this problem by instantly updating data across connected users the moment something changes. In this case, whenever a message is sent, every connected user in that conversation should immediately receive and display it without refreshing the page.
This is usually achieved through something called WebSockets.
Normally, traditional web applications work on a request-response model. The client sends a request, the server responds, and the connection closes. For applications like chat systems, this is inefficient because the client would need to continuously ask the server, “Any new messages? Any new messages now?” every few seconds.
WebSockets solve this by creating a persistent two-way connection between the client and the server. Once connected, both sides can send data to each other instantly whenever needed. This makes communication much faster and far more suitable for real-time applications like chats, notifications, multiplayer games, collaborative editors, and similar systems.
For handling this functionality, I used Pusher.
Pusher basically abstracts away most of the complexity involved in managing real-time communication infrastructure manually. Instead of setting up and maintaining my own WebSocket server, handling connections, reconnections, scaling, events, and subscriptions myself, I could rely on Pusher’s infrastructure and focus more on the application logic.
The implementation itself was fairly straightforward.
Whenever a user sends a message, the backend triggers an event through Pusher. All users subscribed to that particular conversation channel instantly receive the update and the frontend updates automatically in real time.
This follows something known as the publish-subscribe model, often shortened to pub-sub.
In simple terms:
A publisher sends an event.
Subscribers listening to that event receive the update instantly.
In this project:
The backend acts as the publisher when messages are sent.
Users connected to a chat channel act as subscribers.
Pusher sits in between and distributes the events to everyone listening.
This architecture made the application feel significantly more responsive and interactive. The moment messages were sent, typing indicators changed, or conversations updated, every connected user could see those changes instantly without needing to refresh the application.
Deployment
For deployment, I used Vercel.
Since the project was built with Next.js, the deployment process felt almost frictionless because both technologies are developed by the same company. The integration is extremely polished.
After connecting the GitHub repository, Vercel automatically detected the framework, configured the build settings, handled environment variables, and deployed the application without requiring much manual setup. There was no need to create custom CI/CD pipelines, write GitHub workflow configurations, configure Nginx, or manually manage build servers.
The workflow became very straightforward:
Push code to GitHub
Vercel automatically builds and deploys the latest version
Get a live production link within minutes
It also creates preview deployments automatically for pull requests and commits, which is incredibly useful while testing UI changes or new features.
One interesting thing I learned during this project is that while Next.js is very easy to deploy on Vercel, it is somewhat notorious for becoming more complicated on other platforms like AWS because of its server-side rendering architecture, routing system, image optimization pipeline, and edge/runtime features. Vercel naturally supports all of these out of the box since the framework was essentially designed around its infrastructure.
A fun recent example of this is Vinext, where Cloudflare vibe coded on Next.js compatibility within its ecosystem. It was interesting seeing another major platform build additional tooling around Next.js because of how closely tied the framework has become with Vercel’s deployment model.
Screenshots

